Home Cheese-Making Equipment 101: Essential Tools for Beginners
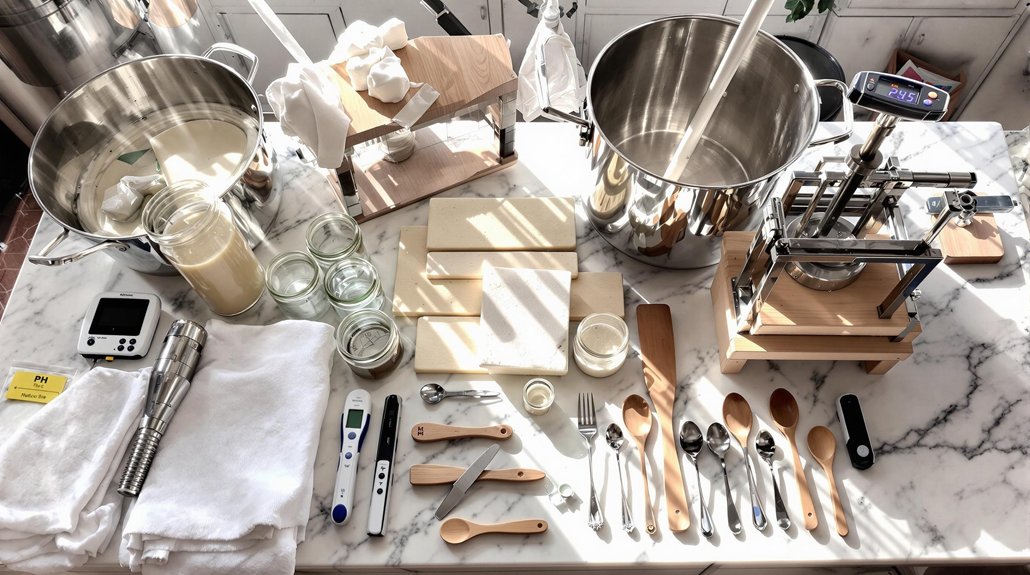
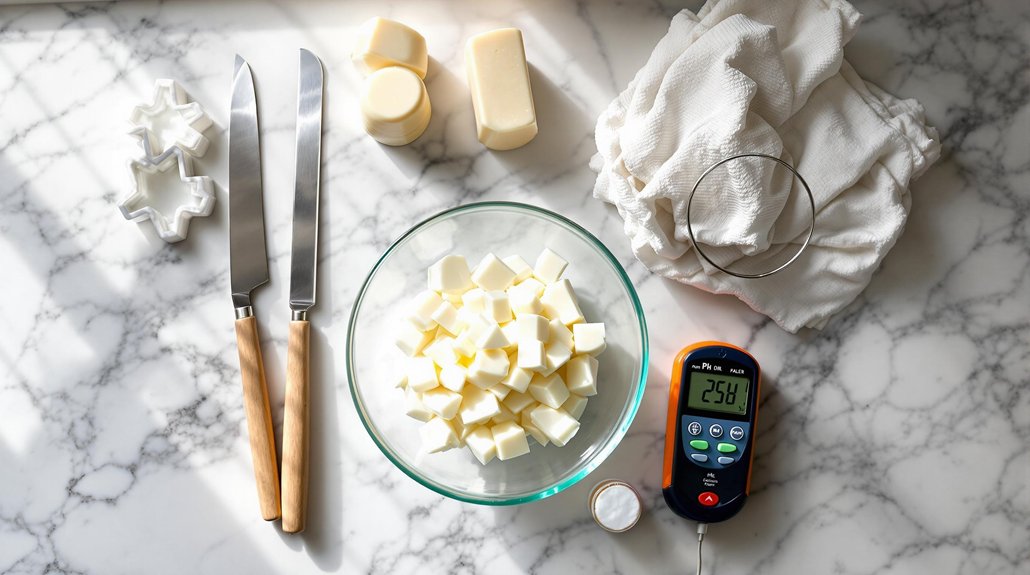
For beginner cheese-making, you'll need a stainless steel, heavy-bottomed pot for even heating, precise measuring tools, and a digital dairy thermometer with probe for temperature monitoring. Don't forget curd knives or icing spatulas for cutting, plus cheesecloth (grade 90) and draining mats for proper moisture removal. Molds and presses help shape your cheese, while proper sanitization equipment guarantees food safety. The right tools will transform your kitchen into a successful home creamery.
The Essential Cheese Pot: Selecting the Perfect Foundation
The cornerstone of your cheese-making journey begins with choosing the right pot. When it comes to cheese production, stainless steel is unquestionably your best option.
A heavy-bottomed pot provides even heat distribution, ensuring your milk reaches the perfect temperature monitored by your dairy thermometer.
Avoid Teflon, chipped enamel, or any reactive metal surfaces that can interfere with the delicate chemical reaction required for successful cheese formation. These materials may release unwanted elements into your milk, compromising your final product.
If you're wondering where to invest your cheese-making budget, prioritize a quality stainless steel pot. It's the foundation upon which all your future batches will depend, making it the most worthwhile purchase for beginners and experienced cheese makers alike.
When making homemade fresh cheese, you'll need to stir constantly while boiling the milk to prevent it from burning on the bottom of your pot.
Measuring Tools for Precise Cheese-Making
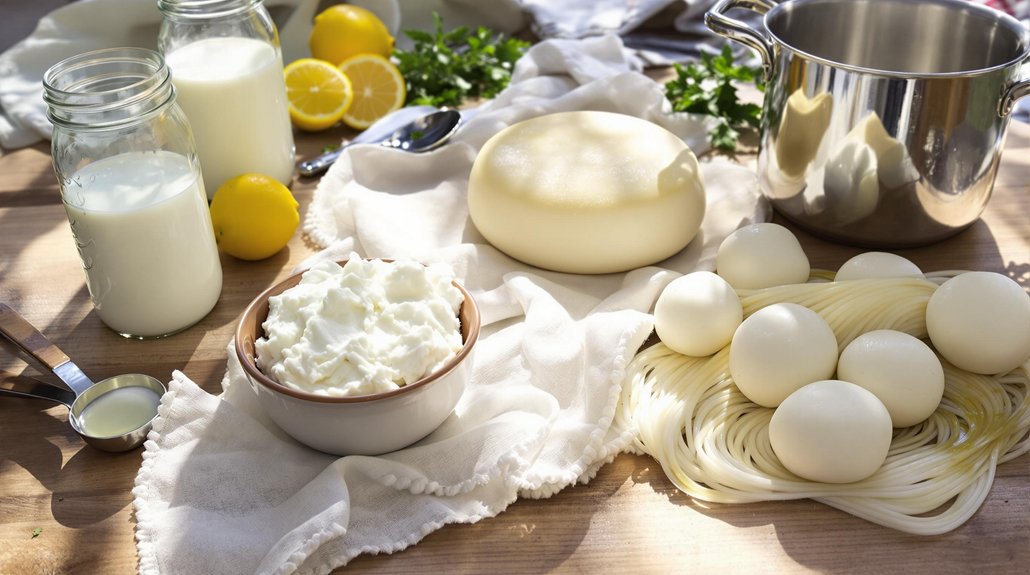
While many cooking endeavors allow for improvisation, cheese-making demands scientific precision in every measurement. You'll need transparent glass measuring cups that allow clear visibility of ingredients and resist corrosion, unlike their plastic counterparts which can harbor bacteria in scratches.
Invest in stainless steel measuring spoons rather than plastic ones—they're more durable and easier to sanitize. Consider a thorough 14-piece set that includes tiny measurements like 1/16 teaspoon for cultures and rennet.
Remember that candy thermometers won't suffice for monitoring the accurate temperature ranges specific to cheese-making. Precise temperature control is especially critical during the coagulation process when proteins bond together to form curds. Your measuring equipment should support the exact science behind cheese recipes, where even slight variations can affect your final product. The right tools guarantee consistency and success in your cheese-making journey.
Thermometers: Monitoring Temperature for Success
Temperature control represents the heart of successful cheese-making, making a high-quality dairy thermometer your most essential investment. When selecting thermometers, prioritize digital models with probes that attach easily to your pot, ensuring continuous monitoring without constant handling.
Don't substitute candy thermometers, as they lack the necessary temperature range for various cheese processes. Your thermometer must be pre-calibrated and tested in boiling water before use to verify accuracy.
Different types of cheese require precise temperature control throughout the process—from milk heating to curd cutting and fermentation. You'll need to maintain consistent readings while using your Measuring Spoons for cultures and additives. A quality thermometer eliminates guesswork, allowing you to replicate your favorite recipes with confidence and achieve consistent results every time.
Cheese Knives and Curd Cutters
Precision cutting tools form the backbone of proper curd formation when making cheese at home. After investing in a good stockpot, you'll want to prioritize acquiring quality curd knives. These specialized tools feature rounded tops designed specifically to avoid scratching your pot while ensuring consistent cuts throughout your curds.
Don't worry about purchasing expensive equipment right away—an icing spatula or cake knife can effectively substitute for dedicated curd knives. Just be sure to choose options with straight blades rather than angled ones, as they're easier to maneuver through the curd mass.
Consistent cutting is vital for controlling moisture and achieving your desired cheese texture. Once you've cut your curds, you'll gather them in cheese cloth before transferring to your cheese press, making proper cutting technique an essential foundation for successful cheesemaking.
Cheesecloth and Butter Muslin: Draining Essentials
Every successful cheese-making process depends on proper drainage, making cheesecloth and butter muslin indispensable tools in your arsenal. While cheesecloth is a loose-woven cotton gauze ideal for pressing cheese, butter muslin features a tighter weave perfect for draining soft cheese and lining molds.
When purchasing, opt for Grade 90 cheesecloth to prevent curds from passing through. Stock up on both varieties—you'll use them frequently during draining and pressing stages.
To maintain your cloths, rinse them in cold water immediately after use. For curds stuck to the fabric, a quick rinse in liquid whey works wonders. Wash in warm water and occasionally boil with baking soda. Always guarantee they're sterilized before use to avoid contamination. Proper care extends their lifespan, saving you money in your cheese-making journey.
Draining Mats: Improving Air Circulation
While often overlooked by beginners, draining mats serve as a pivotal component in successful cheese-making by creating essential space between your cheese and its resting surface. These mats prevent moisture buildup during the aging process, which can lead to uneven drying or improper rind formation.
For both soft cheese and hard cheese varieties, mesh or plastic mats work effectively. However, reed mats offer the most natural finish. You'll find draining mats particularly indispensable when working in high temperatures, as proper airflow prevents unwanted bacterial growth. Avoid using surfaces with chipped enamel, as they can harbor bacteria and contaminate your cheese.
Molds and Presses for Shaping Your Cheese
Most homemade cheeses rely on two fundamental tools for their signature shapes and textures: molds and presses. When making hard cheeses, you'll place your curds into molds made of stainless steel, food-grade plastic, or traditional materials like wood. The follower disc sits atop the curds, distributing weight evenly during pressing.
Your cheese press doesn't need to be fancy—homemade versions using water jugs or bricks work well for beginners, though commercial models offer more precise pressure control with helpful gauges. For proper cheese making, guarantee your press is easy to operate and maintains consistent pressure.
Don't forget draining mats underneath your molds during the pressing process. These food-grade plastic or reed mats promote air circulation, preventing excess moisture buildup as your cheese takes shape.
Waxing Equipment for Preserving Homemade Cheese
Once your cheese has been perfectly shaped and pressed, you'll need proper waxing tools to extend its shelf life. When making cheese at home, invest in natural bristle brushes since synthetic ones can melt into the wax. Choose to use a dedicated pot or heat-safe container for melting wax, either on your stove or in a water bath.
For easier cleanup, line your workspace with aluminum foil. Monitor wax temperature carefully, never exceeding 250°F.
To make cheese at home successfully for a long time, use older equipment dedicated solely to waxing. Remember that your wax isn't single-use—simply melt it down and strain through cheesecloth to remove particles for future applications. This economical approach saves money while ensuring your homemade cheeses stay preserved.
Cleaning and Sanitizing Your Cheese-Making Tools
Because bacteria play such a pivotal role in cheese-making, maintaining impeccably clean equipment isn't just good practice—it's essential. Your steel pot, which should hold the equivalent amount of milk needed for your finished cheese, requires thorough sterilization by boiling for at least 15 minutes.
Don't overlook the bottom of your pot or equipment used for lining molds—these areas can harbor unwanted bacteria. After each use, wash all tools with a dairy-specific sanitizing solution to prevent cross-contamination.
Related posts