Can You Really Grate Parmesan in a Blender? Tips and Tricks
Funny enough, the idea of grating Parmesan in a blender might have crossed your mind just as you're facing a block of cheese and your grater is nowhere to be found. Before you dismiss the thought as impractical, consider that with the right technique, your blender can transform that hard Parmesan into perfectly grated cheese. You'll need to cut the cheese into smaller cubes and use specific pulsing techniques to achieve the desired consistency. But that's just the start. To make sure you're getting the most out of your Parmesan—and your blender—there are a few more tricks and tips awaiting your discovery.
Key Takeaways
- High-speed blenders like Blendtec and Vitamix are ideal for grating Parmesan smoothly.
- Proper cube size and starting at the right speed are crucial for even grating.
- Freshly grated Parmesan enhances flavor and texture in dishes without anti-caking agents.
- Immediate cleaning and drying of blender components ensure safety and longevity.
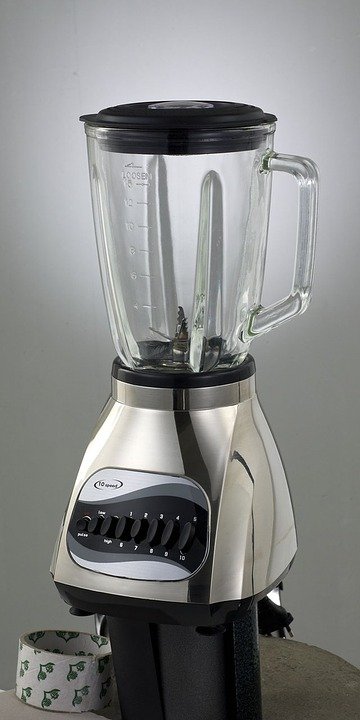
Choosing the Right Blender
When it comes to grating Parmesan in a blender, selecting the right model, such as a high-speed Blendtec or Vitamix, is important for efficiency and best results. You'll want a blender that not only grates Parmesan cheese to perfection but also enhances your pasta dishes with fresh, finely grated cheese directly from the blender.
Blendtec blenders are a great choice, equipped with manual keys that give you precise control over the grating process. This means you can adjust the speed to suit the hardness of your Parmesan, making you get the texture just right for your dishes. On the other hand, Vitamix offers a special dry goods jar designed for best cheese grating results, making it a breeze to add that freshly grated Parmesan to your pasta.
Starting your Blendtec at speed 4 and your Vitamix at speed 1 ensures the motor isn't overwhelmed and that your cheese is grated to perfection. Following the recommended blending process for each blender is important. It helps you achieve the desired consistency of Parmesan, transforming your pasta dishes from good to gourmet with freshly grated cheese.
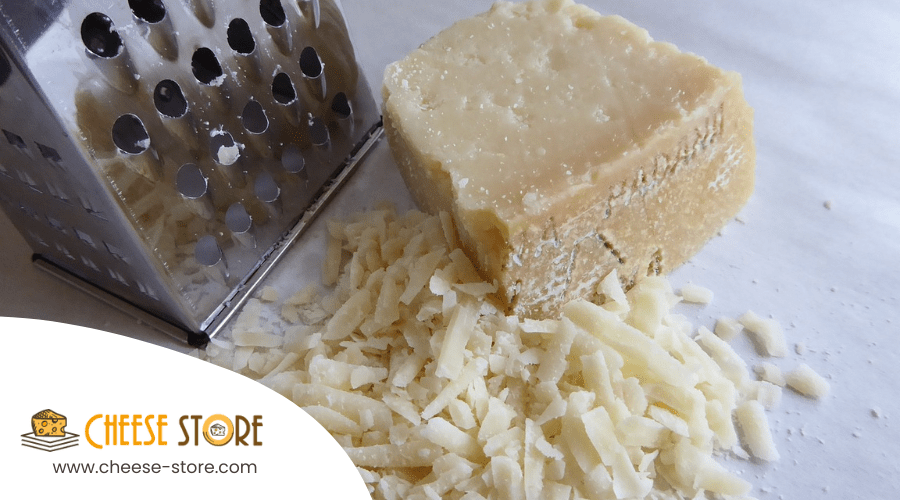
Preparing Your Parmesan
Before you start blending, picking the right Parmesan and prepping it correctly is essential. You'll want to cut your cheese into 1 to 2-inch cubes to make certain it blends smoothly. This step sets the foundation for a successful grating process, leading to perfectly grated Parmesan for your dishes.
Parmesan Selection Tips
Selecting a hard Parmesan cheese is important for successful grating in your blender. If you're aiming for freshly grated Parmesan, choosing the right type of cheese can make all the difference. Here's why:
- Hardness: Hard Parmesan guarantees that you get a finely grated cheese rather than a clumpy mess.
- Flavor: Aged Parmesan tends to have a deeper flavor, enhancing your dishes more than pre-grated options.
- Texture: The right Parmesan will blend smoothly, providing the perfect consistency for your recipes.
Cutting for Optimal Results
After choosing the right Parmesan, it's important to cut it into 1 to 2-inch cubes for the best blending results. This isn't just a vital step; the cube size importance cannot be overstated. By ensuring uniform cube sizes, you're promoting even blending and consistent results. Smaller cubes will blend faster and more evenly than larger pieces, which is key to blending efficiency. This careful preparation facilitates the grating process in the blender, making your culinary efforts more effective. Cutting the cheese into properly sized cubes helps prevent uneven blending, ensuring a smoother texture consistency in your dishes. Remember, taking the time to cut your Parmesan correctly is an essential step towards achieving perfect results every time.
Step-by-Step Instructions
Before you get started, it's essential to pick the right blender and prepare your Parmesan correctly. Make sure your cheese is cut into 1 to 2-inch pieces and that your blender jar is dry. This sets you up for success, ensuring your Parmesan is grated efficiently and without clumps.
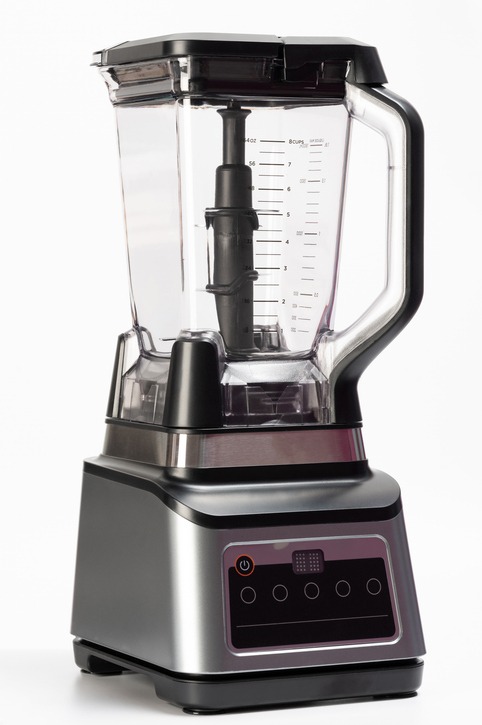
Choosing the Right Blender
To guarantee efficient Parmesan grating, start by choosing a high-powered blender like Blendtec or Vitamix. Not all blenders are created equal, and for this task, three critical features stand out:
- Blender power - High-powered blenders assure a smooth grating process without leaving chunks.
- Jar compatibility - Vitamix offers specific dry goods jars optimized for dry blending tasks like cheese grating.
- Speed control - Starting at a lower speed allows the cheese to begin breaking down evenly before increasing to high speed for fine grating.
Assure the jar is completely dry to avoid any sticking or clumping. With the right blender in hand, you're set for success in grating Parmesan efficiently and effortlessly.
Preparing Parmesan Properly
Now that you've selected a high-powered blender, let's focus on preparing your Parmesan cheese to guarantee a perfect grate every time. First, cut a wedge of Parmesan into 1 to 2-inch cubes. This size optimizes grating efficiency and ensures blender compatibility. Before adding the cubes, make sure your blender jar is bone dry to prevent any clumping. Depending on your model, follow the specific blending instructions—use manual keys for Blendtec or a dry goods jar for Vitamix. Start on a low speed, aiming for texture control. After 15-20 seconds, you'll achieve the desired consistency. Finally, give the container a tap against a flat surface to collect your freshly grated Parmesan, ready to elevate your dishes.
Optimal Blender Settings
How do you guarantee your Parmesan comes out perfectly grated every time you use your blender? The secret lies in mastering the best blender settings. Achieving that mouth-watering consistency isn't as challenging as it might seem. Here are the essentials:
- Speed Control: Start with the right speed. For Blendtec blenders, kick things off at speed 4 and let it run for 15-20 seconds. If you're using a Vitamix with a special dry goods jar, begin at a low speed and gradually crank it up to high. This gradual increase ensures you don't overdo it right from the start.
- Blending Consistency: Smooth blending is the cornerstone of evenly grated Parmesan. It's all about finding that sweet spot where your cheese isn't too chunky nor pulverized into dust.
- Monitoring Process: Keep an eye on the blending process. Your vigilance allows you to adjust the speed as necessary, making sure you hit the desired consistency every time.
Safety Tips
Before you start grating Parmesan in your blender, it's important to make sure your lid is securely fastened. This prevents any unexpected spills or accidents. Also, properly preparing your Parmesan by cutting it into smaller chunks will make the process smoother and safer.
Blender Lid Security
To guarantee your safety and the best results when grating Parmesan in a blender, always make sure the blender lid is securely fastened. This is not just about avoiding messes; it's essential for your safety and the appliance's proper function. Here's why focusing on the lid's security is non-negotiable:
- Lid Maintenance: Regularly inspect for wear or damage that might compromise the seal.
- Safety Precautions: A secure lid prevents accidental spills or splatters, protecting you from potential harm.
- Blender Functionality: Ensuring the lid is tightly sealed maintains the best blending environment for efficient grating.
Proper Parmesan Preparation
Ensuring your Parmesan cheese is cut into small cubes is the first step to a smooth and safe blending process. This not only improves the cheese texture but also prevents overloading, respecting your blender's capacity. Before you begin, make sure your blender jar is dry to avoid clumps and guarantee the cheese processes smoothly. Always start blending at a low speed, gradually increasing to effectively break down the cheese without straining the motor. Pay attention to your blender model's specific instructions for best results. Blade importance is key; dull blades can struggle with hard cheese and pose a safety risk. Remember, maintaining proper safety measures when handling sharp blades and electrical components is essential to a successful and safe grating experience.
Cleaning After Grating
After grating Parmesan in your blender, it's important to wash the jar immediately to prevent the cheese residue from hardening. Cheese, especially Parmesan, can stick to the sides and blades, making it a chore to clean later on. Rinse every part of the blender under warm water and use a soft sponge with mild detergent to make sure all cheese particles are removed. Pay special attention to the blades to remove any stuck cheese particles without injuring yourself.
Here are three essential aspects to keep in mind while cleaning your blender:
- Drying Techniques and Odor Prevention: Thoroughly dry the blender components after washing to avoid bacterial growth and odors. Use a clean towel or let them air dry on a rack.
- Blade Maintenance and Bacterial Growth: Carefully clean the blender blades to make sure no cheese residue is left behind. This prevents bacterial growth and maintains the sharpness of the blades.
- Safety Precautions and Storage Solutions: Avoid getting water near the electrical components of the blender for safety. Once dry, store the blender in a safe place where it won't be knocked over, maintaining its functionality and preventing accidents.
Storing Grated Parmesan
Once you've grated your Parmesan, storing it correctly in the refrigerator in an airtight container is key to keeping it fresh. This simple step is important for maintaining the grated Parmesan's longevity and ensuring its best quality over time. The cool and stable environment of the refrigerator prevents the cheese from spoiling prematurely and helps in preserving its flavor.
To maximize the freshness of your grated Parmesan, aim to use it within seven days of grating. This timeframe ensures you'll enjoy the best taste and texture of the cheese. Remember, leaving grated Parmesan at room temperature isn't a good idea as it can lead to bacterial growth, affecting its safety and quality.
For those times when you've grated more Parmesan than you can use within a week, consider freezing it. Freezing offers a viable solution for longer-term storage, allowing you to extend its shelf life significantly while still preventing spoilage. Just be sure to store it in a suitable freezer-safe container to maintain its quality.
Proper refrigerator storage, timely usage, and the option to freeze are all essential tips in preventing spoilage and keeping your grated Parmesan fresh and flavorful.
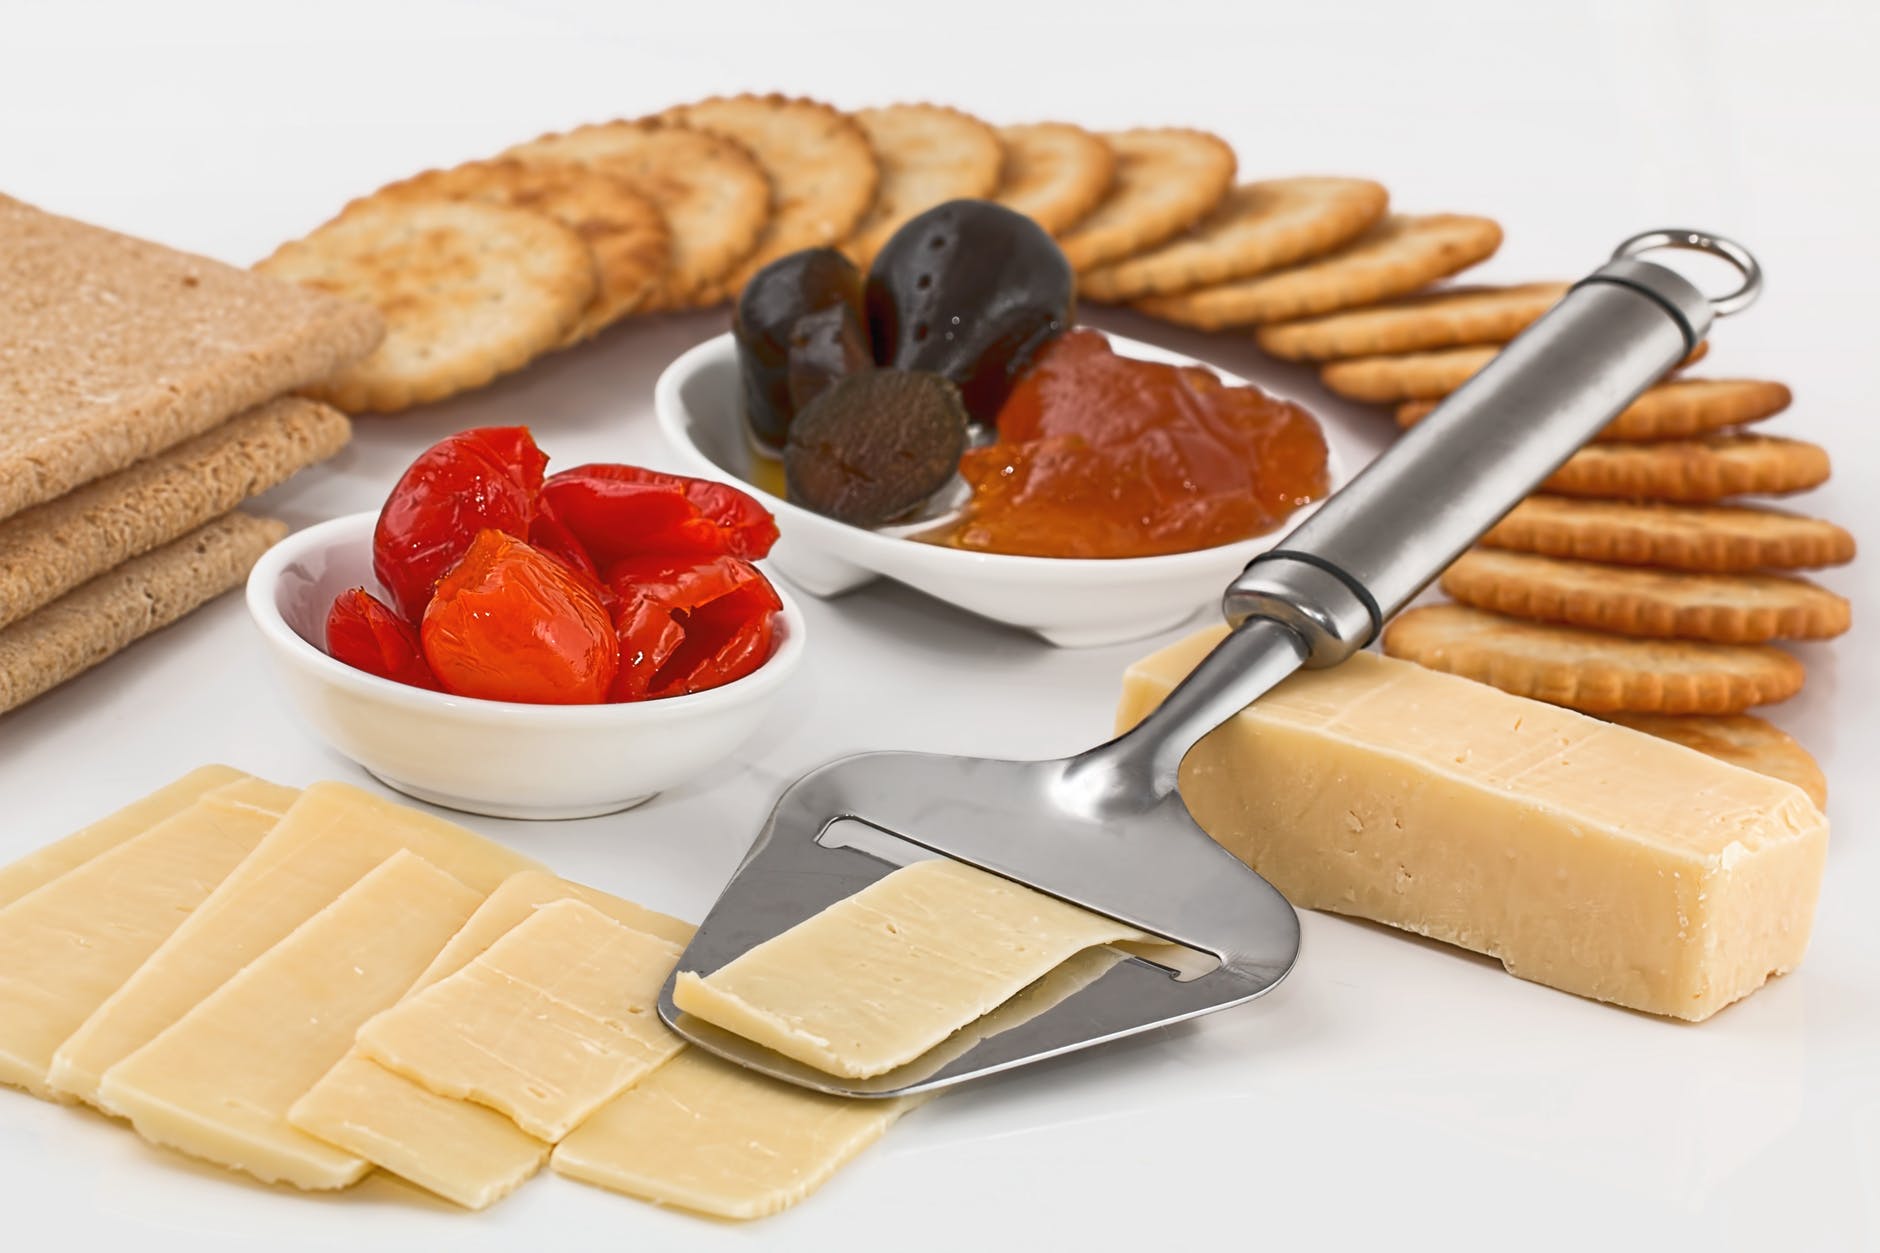
Benefits of Fresh Parmesan
Grating your own Parmesan cheese, you'll discover, greatly enhances the flavor and texture of your dishes, offering a more authentic and gourmet experience. When you choose to grate Parmesan yourself, you're not just adding cheese to your food; you're elevating your culinary experience with a freshness advantage that pre-packaged cheese simply can't match. Here's why fresh Parmesan is superior:
- Flavor Enhancement: The intense and authentic flavor of freshly grated Parmesan adds depth to Italian dishes that pre-packaged cheese can't replicate. Whether it's sprinkled over pasta or melted into sauces, the difference in taste is unmistakable.
- Freshness Advantage: Freshly grated Parmesan has a gourmet appeal due to its lack of anti-caking agents, which means it melts more smoothly and integrates better into your dishes.
- Control over Texture: Grating Parmesan yourself allows you to adjust the texture and size of the cheese particles, providing an authentic taste and consistency tailored to your preference.
Troubleshooting Common Issues
While grating Parmesan in a blender offers convenience, you may encounter a few common issues that can easily be addressed with the right approach. Adjusting the blending time is important for achieving your desired cheese texture. If you're after a finer grate, a longer blend might be necessary, but be vigilant to prevent over-processing. Keep an eye on the grating consistency throughout the blending process. It's easy to go from perfectly grated to powdered Parmesan if you're not careful.
Utilizing the pulse function is key to maintaining control over the grating process. This allows you to incrementally check the texture of the cheese, ensuring you don't end up with a clumpy or overly fine result. Remember, too, that overfilling your blender can be a recipe for disaster. It's better to grate in smaller batches for even and efficient results.
Lastly, don't forget to consult your blender's manual for specific troubleshooting tips. Manufacturers often provide guidance on common grating issues, which can save you a lot of guesswork and make certain you're using your appliance in the most effective way possible.
Creative Uses for Blender-Grated Cheese
After tackling common issues with grating Parmesan in a blender, let's explore how this versatile cheese can elevate your culinary creations. With your newfound skill, you're not just saving time; you're delving into a treasure trove of culinary creativity. Here's how:
- Cheesy Snacks and Baking Techniques: Imagine pulling a tray of golden, crispy Parmesan crisps from the oven, made simply by baking small piles of your blender-grated cheese. Or, immerse yourself in the world of homemade bread and pizza dough, where incorporating Parmesan directly into the mix infuses every bite with a delicious, cheesy flavor.
- Flavorful Additions to Salads and Soups: Your salads will thank you for that extra savory kick when sprinkled with Parmesan. It's not just about the green leaves; it's about transforming them into a memorable dish. The same goes for soups and stews—topping them with a sprinkle of Parmesan adds a rich, cheesy touch that elevates the entire experience.
- Exploring with Parmesan Varieties: Don't shy away from experimenting with different types of Parmesan. Each brings its unique flavor and texture to your dishes, offering savory enhancements and delicious twists that showcase your culinary creativity.
Conclusion
So, you've seen it's totally doable to grate Parmesan in your blender. Just remember to choose a sturdy blender, prep your Parmesan into manageable cubes, and use the pulse function for the best texture. Always prioritize safety and store your freshly grated cheese properly to keep it fresh. Embracing this method not only gives you deliciously fresh Parmesan but also opens up a world of culinary possibilities. Go ahead, give your dishes that extra zing with blender-grated Parmesan!